Interact with Unity's Native UI using Laser Pointer (Oculus Quest 2)
- Search UIHelpers
- Add UIHelpers prefab to scene
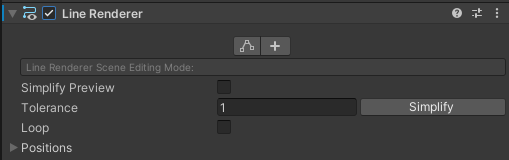
- Setactive Line Renderer in LaserPointer child of UIHelpers
- In EventSystem -> OVR Input Module(Script) Drag RightHandAnchor in Ray Transform field
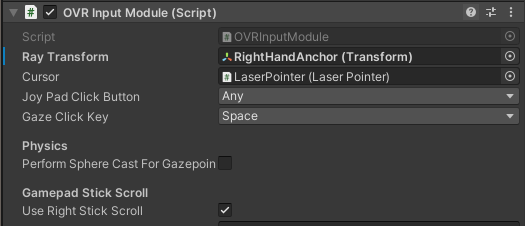
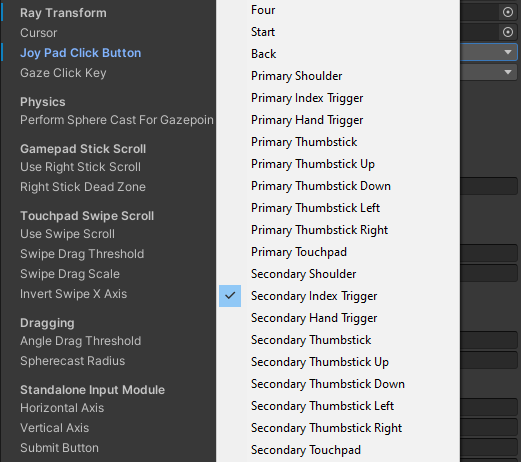
- In Joy Pad Click Button set it to Secondary Index Trigger (Right Controller Index trigger)
Unity Native UI System
Create Canvas
- In Canvas set Render Mode to World Space
- Add CenterEyeAnchor as Event Camera.
- Add OVR Raycaster (Script) and Remove Graphic Raycaster
- Set Pointer to LaserPointer (UIHelpers)
Adding Buttons
- Add TMP (Import Text Mesh Pro Package) UI Button in the Scene
Adding ScrollView
- Add OVR Raycaster (Script)
- Remove Horizontal scrollbar
- Scroll Rect -> Movement Type to Clamped
- Scroll Sensitivity to 35
- Uncheck Inertia
- In Viewport -> Content add Grid Layout Group
- Add Content Size Filter
- Set Horizontal Fit Unconstrained
- Set Vertical Fit Preferred Size
- Scroll view -> Viewport -> Content -> Add Buttons
Adding Toggle
- Add Toggle Button to Canvas
- Replace textView with TMP
Adding DropDown
- Add Dropdown to Canvas
- Set Options